
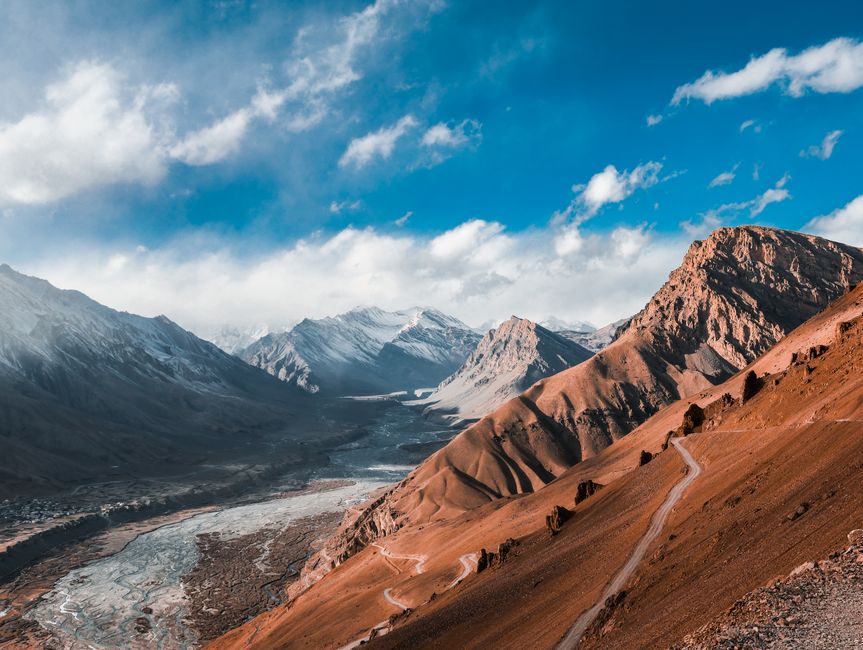
Beginner Himalaya Trekking Guide: Beginner’s Himalaya Trekking Guide: Gear and Safety
You have booked a flight to Kathmandu, but the packing list still looks like a different language. A multi-day Himalayan trek is not a normal holiday walk. You will carry food, clothing, water, and emergency supplies while your body adjusts to thin air, long climbs, and basic accommodation. The safest beginner plan starts with the route, then builds the gear and schedule around it.
Choose a Himalayan route that matches your first trek
The best beginner route is not the most famous or highest one. It is the route that gives you manageable walking days, regular villages, reliable accommodation, and enough time to adjust to altitude. My clear recommendation is the lower Everest View route or a carefully paced section of the Annapurna Circuit for a first Himalayan experience.
Compare walking time, height, and support
| Route | Typical trek length | Highest common point | Beginner verdict |
|---|---|---|---|
| Everest View Trek | 6–9 days | Namche Bazaar, about 3,440 m | Best short introduction |
| Everest Base Camp | 12–16 days | Kalapatthar, about 5,545 m | Possible, but demanding |
| Annapurna Circuit | 10–18 days | Thorong La, about 5,416 m | Excellent with added acclimatization |
| Langtang Valley | 7–10 days | Kyanjin Ri, about 4,773 m | Strong balance of access and scenery |
Pick the route before buying equipment
Route length changes what you carry. A teahouse trek needs less cooking equipment than a camping expedition, while a high pass needs warmer layers and a slower schedule than a valley walk. For a first trip, choose a supported teahouse route with a guide, daily distances near 10–15 kilometres, and at least one planned acclimatization day. Do not select a route only because a social media photograph made the landscape look easy. The best beginner choice is Langtang or Everest View if you want a shorter commitment; choose Everest Base Camp only if you can train for repeated 5–7 hour walking days.
Understand Nepal’s trekking permits in 2026
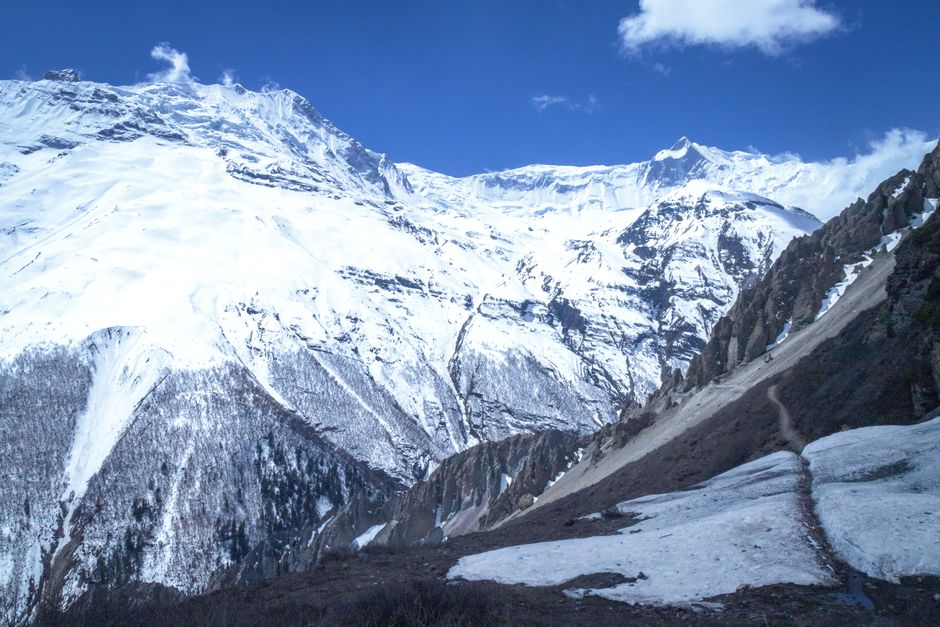
Permits are part of the route plan, not a last-minute formality. Requirements vary by region, nationality, protected area, and whether the route enters a restricted zone. The safest verdict is simple: confirm the exact route with the Nepal Tourism Board and a registered trekking agency before you book transport.
TIMS Card rules for popular routes
The Nepal Tourism Board currently states that several protected Himalayan routes require a licensed guide and an agency-issued TIMS Card. Its listed routes include Everest Base Camp, Gokyo, Three Passes, Mera Peak, Langtang-area routes such as Helambu and Gosaikunda, Kanchenjunga routes, and Manaslu-area routes. The current TIMS page lists NPR 2,000 for applicants from outside SAARC countries and NPR 1,000 for SAARC applicants. Fees and route lists can change, so check the Nepal Tourism Board TIMS guidance before departure.
Restricted-area permits need more paperwork
Upper Mustang, Upper Dolpa, Manaslu, Tsum Valley, and other restricted areas require special permits arranged through a registered agency. The Department of Immigration lists fees that vary by region and season. For example, the Manaslu permit is listed at USD 70 per week from September to November and USD 50 per week from December to August, while Upper Mustang and Upper Dolpa are listed at USD 500 for the first 10 days plus USD 50 per extra day. Carry printed permit copies and your passport. This is not legal advice — consult a licensed attorney if you need a legal interpretation of Nepal’s entry or trekking rules.
Build a gear system for cold, rain, and long days
My gear verdict: spend first on footwear, rain protection, and sleep insulation. A lighter backpack cannot rescue wet feet or a cold night. Brand names can help you compare construction, but fit matters more than the logo, and local rental shops in Kathmandu and Pokhara can reduce the cost of specialist equipment.
The core clothing and carrying list
- A 45–60 litre backpack with a hip belt; the Osprey Exos 58 is a practical reference point at 58 litres and about 2.7 pounds, with a typical US list price near USD 240.
- Two moisture-wicking base layers, one fleece or light insulated jacket, and a waterproof shell with a hood.
- Warm gloves, a wool or synthetic hat, sun hat, sunglasses, sunscreen, and four pairs of hiking socks.
- Broken-in boots or trail shoes. The Salomon X Ultra 4 Mid GTX costs roughly USD 160 and offers waterproof construction, but do not buy it if the heel slips or your toes touch the front.
- A sleeping bag rated around -10°C for high teahouse routes, plus a liner if you sleep cold.
Small equipment that earns its weight
The Therm-a-Rest NeoAir XLite NXT is a useful sleeping-pad benchmark: about R 4.5 insulation, a packed length near 28 centimetres, and a typical price around USD 210. Trekking poles reduce stress on knees during long descents; Black Diamond Trail Cork poles are a solid, adjustable option at roughly USD 140. A Garmin inReach Mini 2 weighs 100 grams, carries an IPX7 water rating, and can run up to 14 days in its standard tracking mode, but it needs a satellite subscription. Buy a satellite communicator only for remote routes or when your emergency plan depends on it.
Pack and walk each day without wasting energy
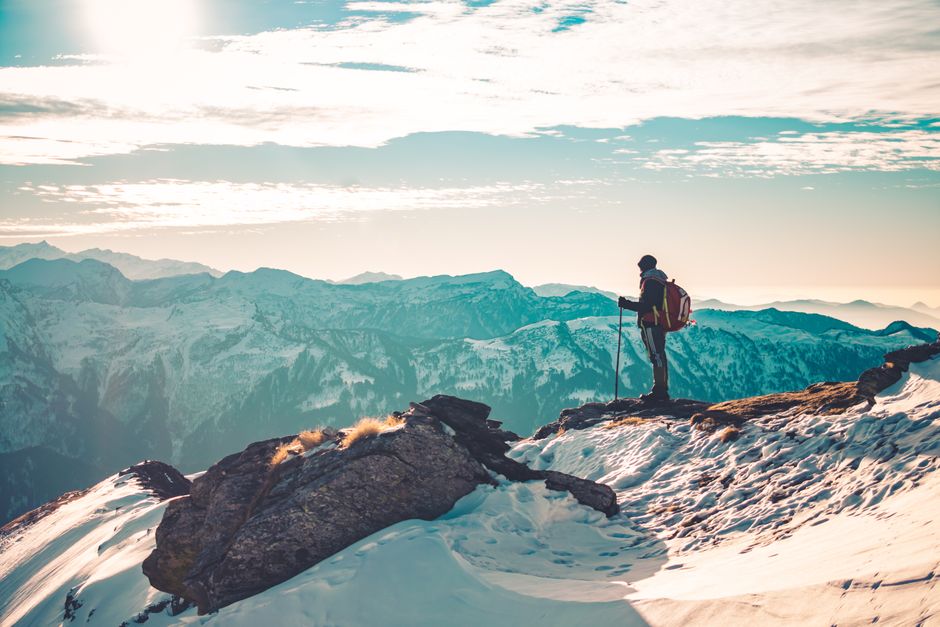
Walk slower than your ego wants. Beginners usually fail through small daily mistakes: starting too fast, carrying water in one heavy bottle, leaving rain gear at the bottom of the pack, or treating every village stop as a race. A steady pace protects your legs for the second half of the trek.
Use this morning-to-evening routine
- Before breakfast, check the weather, route distance, elevation gain, and the next reliable water stop.
- Pack rain gear, warm layers, snacks, sunscreen, medicines, and a water bottle where you can reach them without unpacking.
- Start with ten easy minutes. Keep your breathing calm and shorten your steps on steep climbs.
- Drink regularly rather than waiting for thirst. Many trekkers aim for roughly 2–3 litres per day, adjusting for heat, exertion, and medical advice.
- Take a proper lunch break, then stop before darkness. Walking into an unfamiliar village after sunset adds risk for little reward.
- At the lodge, dry wet clothing, charge devices, refill water, and repack before dinner.
Cut weight without cutting safety
Remove duplicate toiletries, bulky cotton clothes, excess electronics, and food you can buy along the route. Keep a headlamp, first-aid supplies, water treatment, spare batteries or a power bank, passport copies, and a small emergency reserve. Do not remove insulation, rain protection, or the warm layer needed for the highest sleeping point. The correct target is a pack you can lift comfortably and carry for an hour without shoulder pain, not a record number on a luggage scale.
Acclimatize properly and treat altitude symptoms early
Altitude risk comes from going higher faster than your body can adjust. Fitness does not make you immune. A strong runner can still develop Acute Mountain Sickness, while a slower walker may adapt well. Nepal Tourism Board guidance advises caution above 2,500 metres and recommends a rest day after each 1,000 metres of altitude gain. My safety verdict is firm: if symptoms worsen, stop ascending and descend.
Recognize the first warning signs
Mild Acute Mountain Sickness can look like a headache, nausea, unusual tiredness, dizziness, poor sleep, or loss of appetite. Do not hide these signs because the group has a timetable. Tell your guide, drink sensibly, rest, and avoid alcohol. A headache that does not improve, repeated vomiting, confusion, trouble walking straight, breathlessness at rest, or a wet cough demands urgent medical help. Those symptoms may signal serious altitude illness, and waiting to see what happens can turn a manageable problem into an emergency.
Build a safer elevation schedule
Plan a lower sleeping altitude after a large gain, add acclimatization days at places such as Namche Bazaar, and use day walks that return to the same lodge. Do not sleep higher simply because a map shows a shorter route. Carry travel insurance that specifically covers trekking altitude, evacuation, and the maximum elevation on your itinerary. A helicopter evacuation is not a substitute for insurance, and weather can delay it. Check the Nepal Tourism Board mountain safety advice before you leave.
Common beginner mistakes and honest route limits
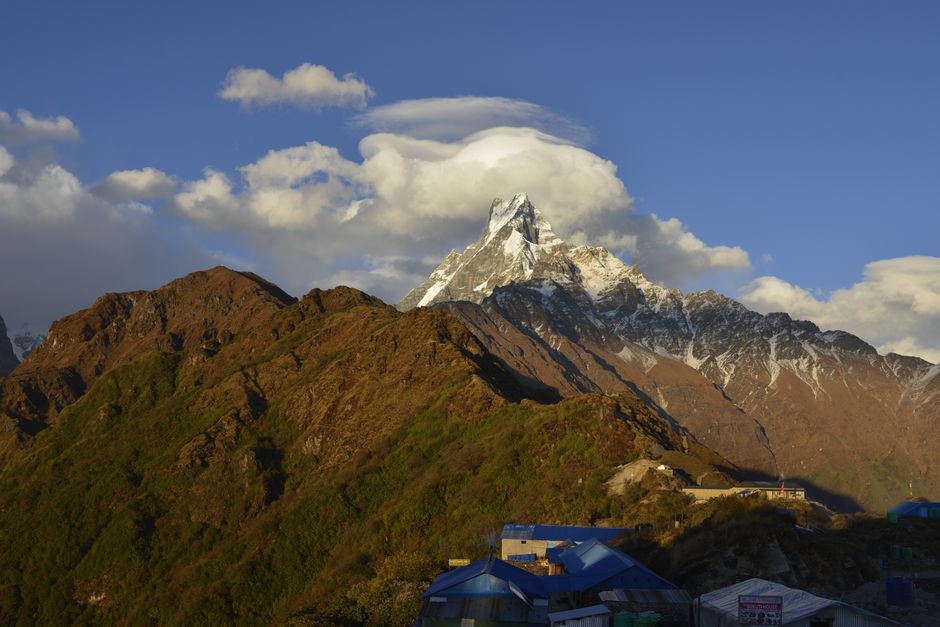
The most useful trekking advice is sometimes a reason not to go yet. If you dislike cold rooms, long uphill walks, shared bathrooms, or uncertain transport, a high Himalayan trek may not be the right first adventure. Start with a lower valley route and build experience.
Should you trek independently?
For a first Himalayan multi-day trek, I recommend a licensed guide or a reputable agency. This is especially important on routes covered by current guide and TIMS rules, and on trails with limited phone coverage. Independent travel can work on busy, well-marked routes for experienced hikers, but saving an agency fee does not remove the need for navigation, language support, permit checks, and emergency planning. Do not hire an unlicensed person because the price looks attractive.
What should you never improvise?
Never improvise acclimatization, insurance, water treatment, or a turnaround decision. Do not wear brand-new boots on day one, carry medication without understanding its use, or assume a phone signal will exist at every lodge. Check weather before crossing a pass and ask your guide about avalanche, landslide, river, and flight conditions.
When is a lower route the better choice?
Choose Langtang Valley, the lower Everest View trek, or a foothill itinerary if you have limited time, no high-altitude experience, a recent illness, or children in the group. A shorter trek completed comfortably is a better travel memory than a famous route abandoned after one exhausting day.
The single most important takeaway: choose a route you can walk slowly, acclimatize safely, and leave with the correct permits before you buy a single piece of gear.